We went out wanting to take pictures of birds with our telephoto lens. We had a few chances, but nothing really worked out. Wildlife photography can be like that. During the day I was also on the alert for anything else that caught my eye. I found this texture. The texture is course white sand with some pine needles, moss and bits of other natural debris. The low winter sun gives the image a lot of relief. The sand was not “native;” looks like someone dumped a planter in the park. This image was taken with a Nikon D90 and a Nikon 70-300mm f/4.5-5.6G ED IF AF-S VR Nikkor Zoom. By standing on my toes, I was just able to autofocus on the ground at my feet.

Sand and Needles
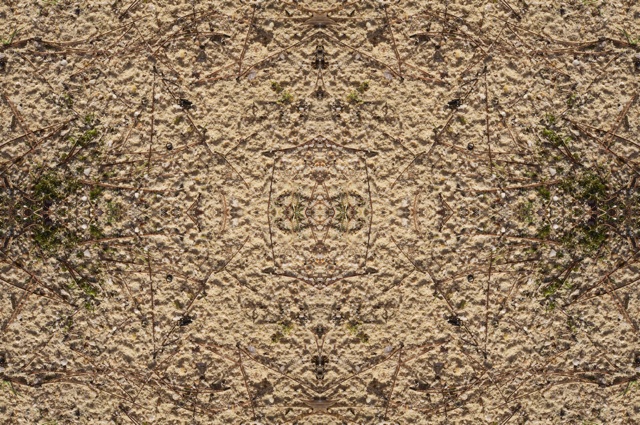
It makes an interesting organic view on its own. I decided to go a step further and turn it into a seamless texture. Seamless textures can be used as backgrounds, for example. The resulting seamless version of this particular texture is rather busy. However, the mirroring brings out some interesting patterns. It reminds me of an oriental rug.

Sand and Needles, seamless texture
Brief Seamless Texture Tutorial
Making seamless textures is pretty easy in an image editor that does layers. I used Plxelmator on my Mac. Gimp is free and will do it. You might be able to do it in other more simple editors, but layers makes it easy to work with just the part of the image you want. You can also buy software specifically for making seamless textures, but the process is so easy I don’t see the need to buy anything.
Here are the steps. Once you have your original image cropped and otherwise adjusted to your liking:
- Increase the canvas size by 100% vertical and 100% horizontal.
- Copy the original image; Paste the copy into a new layer
- Flip the new layer horizontally; Move it horizontally beside the original image.
- Merge the layers.
- Copy the image from the merged layer; Paste the copy into a new layer.
- Flip the new layer vertically. Move it vertically below the original image.
- Merge the layers.
It’s really straightforward, but if you’ve never done it, it takes some thought.
